
E-bikes are a fantastic way to get around, blending convenience and eco-friendliness with the joy of cycling. However, just like traditional bicycles, e-bikes are not immune to flat tires. A puncture can feel daunting, especially with the added complexity of electrical components, but with the right tools and approach, you can handle it like a pro.
This guide walks you through the process of repairing a puncture on your e-bike. Along the way, we’ll recommend high-rated tools and products available on Amazon that make the job easier.
Why Learning to Fix a Flat Is Essential
E-bikes are an investment. Regular maintenance, including learning how to repair a puncture, helps extend their lifespan and keeps your rides smooth. Knowing how to fix a flat means you won’t have to rely on costly repairs or roadside assistance every time your tire gives out.
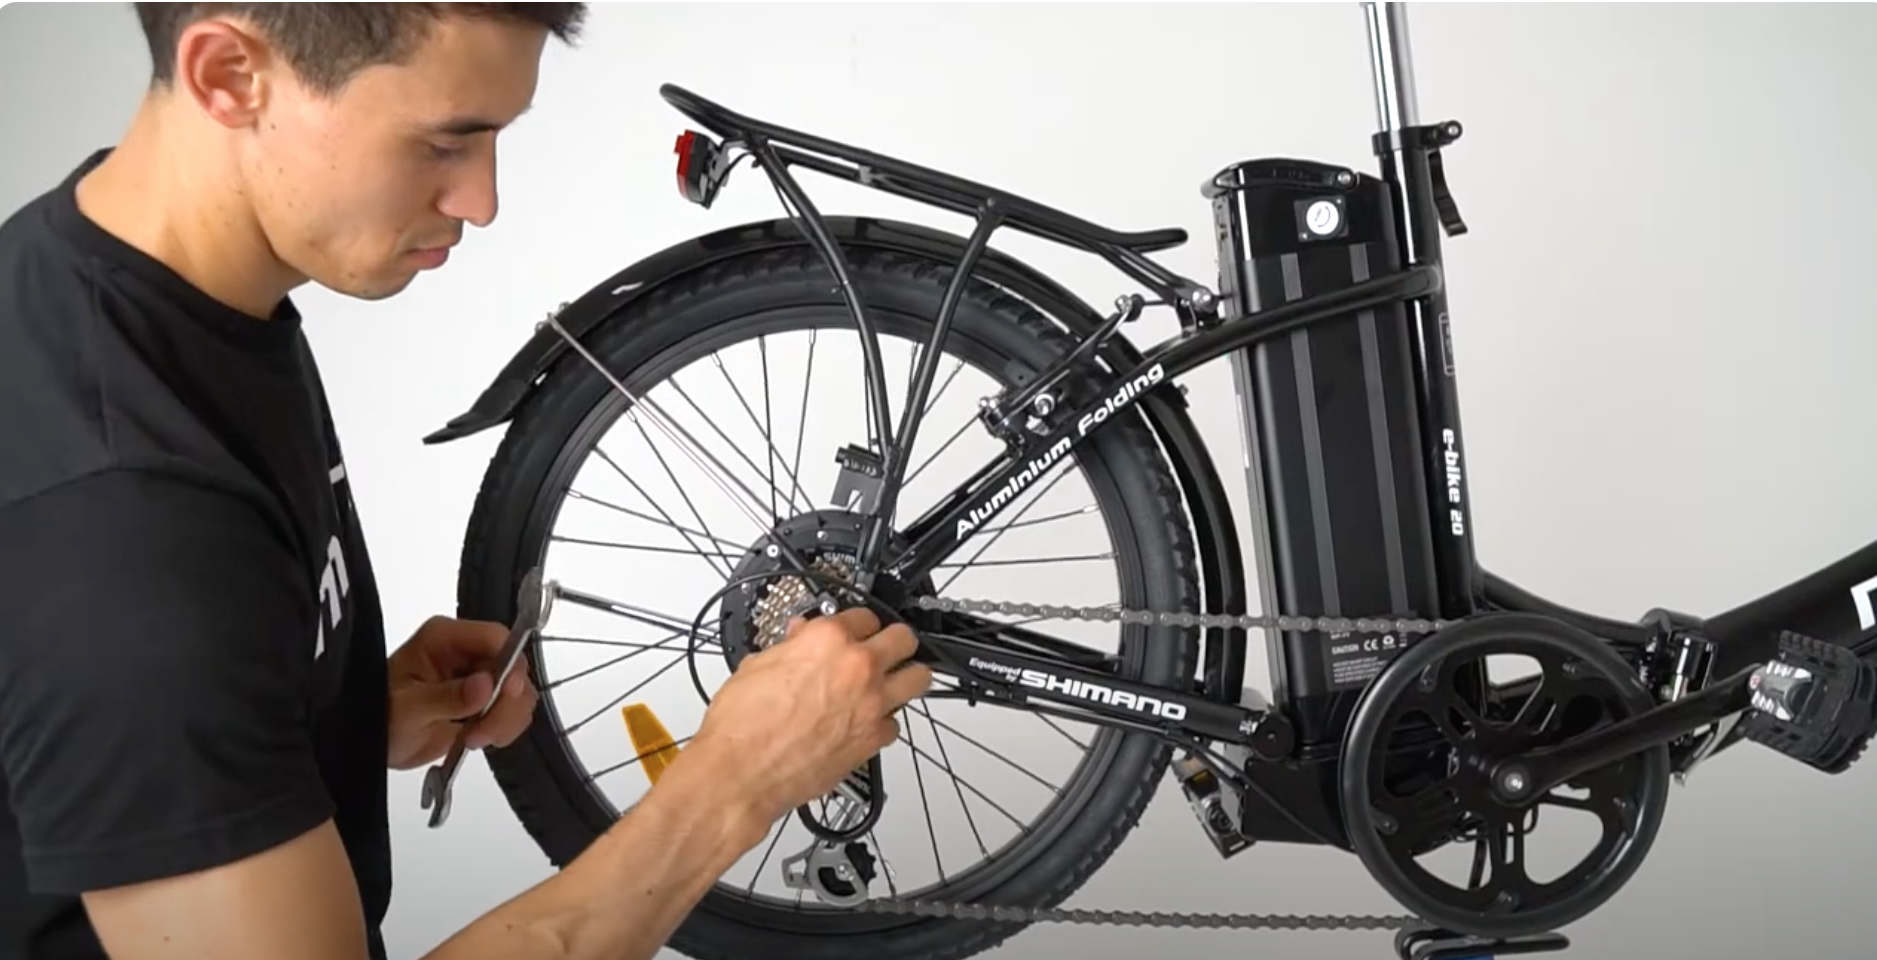
How to fix a puncture on an E-Bike 20 – Moma Bikes
Tools and Materials You’ll Need
Before tackling the repair, gather these essential tools and materials. Each item is available on Amazon with high ratings and lots of reviews:
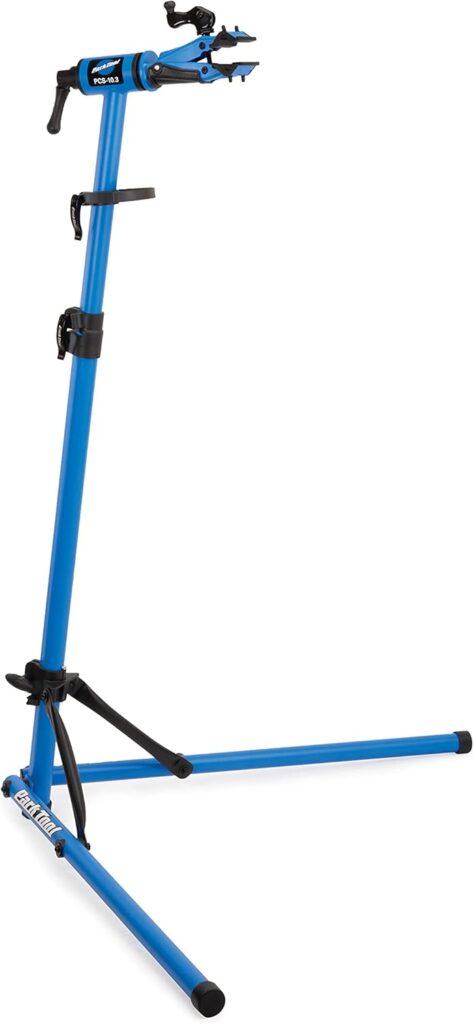
Bike Repair Stand
- Recommended Product: Park Tool PCS-10.3 Home Mechanic Repair Stand
- This sturdy stand keeps your bike steady while you work. Its adjustable clamps make it compatible with most ebike frames.
- Why You Need It: Lifting your e-bike off the ground makes tire repairs easier and safer.
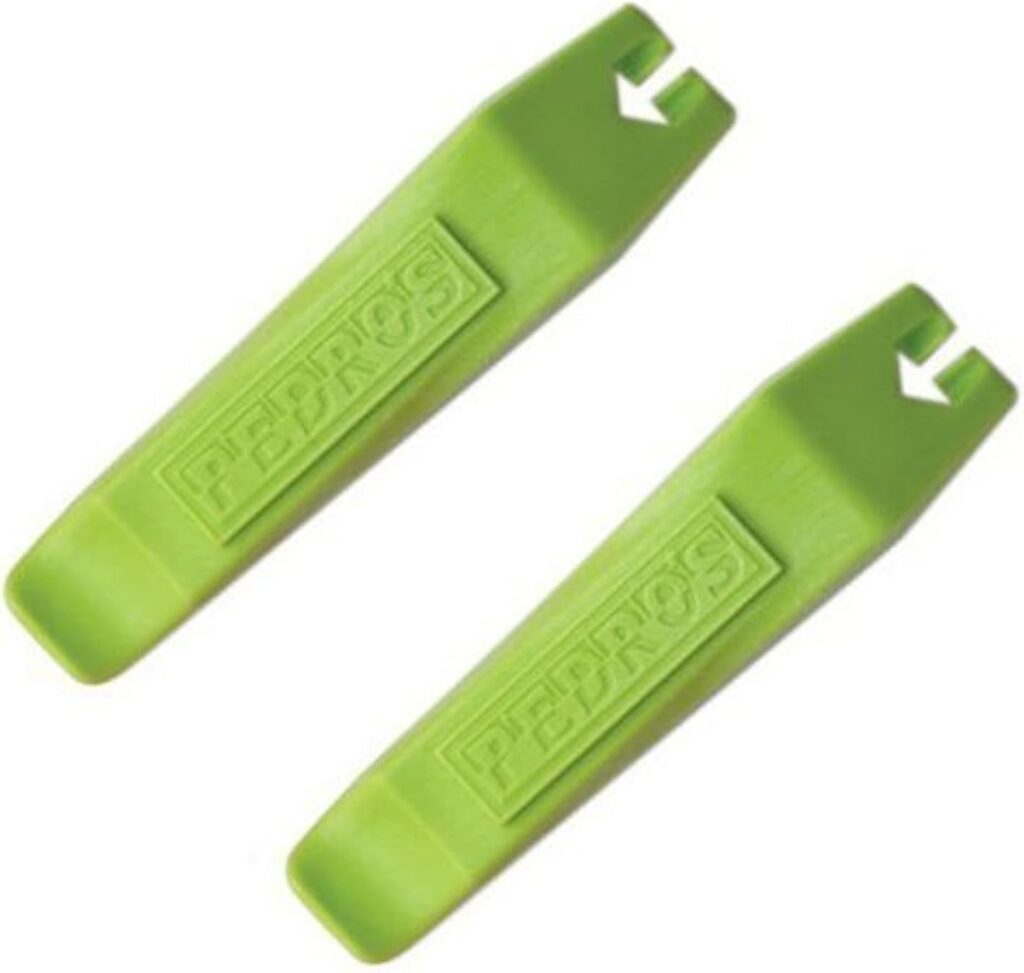
Tire Levers
- Recommended Product: Pedro’s Tire Levers
- These durable, easy-to-use levers are designed to remove tires without damaging the rim.
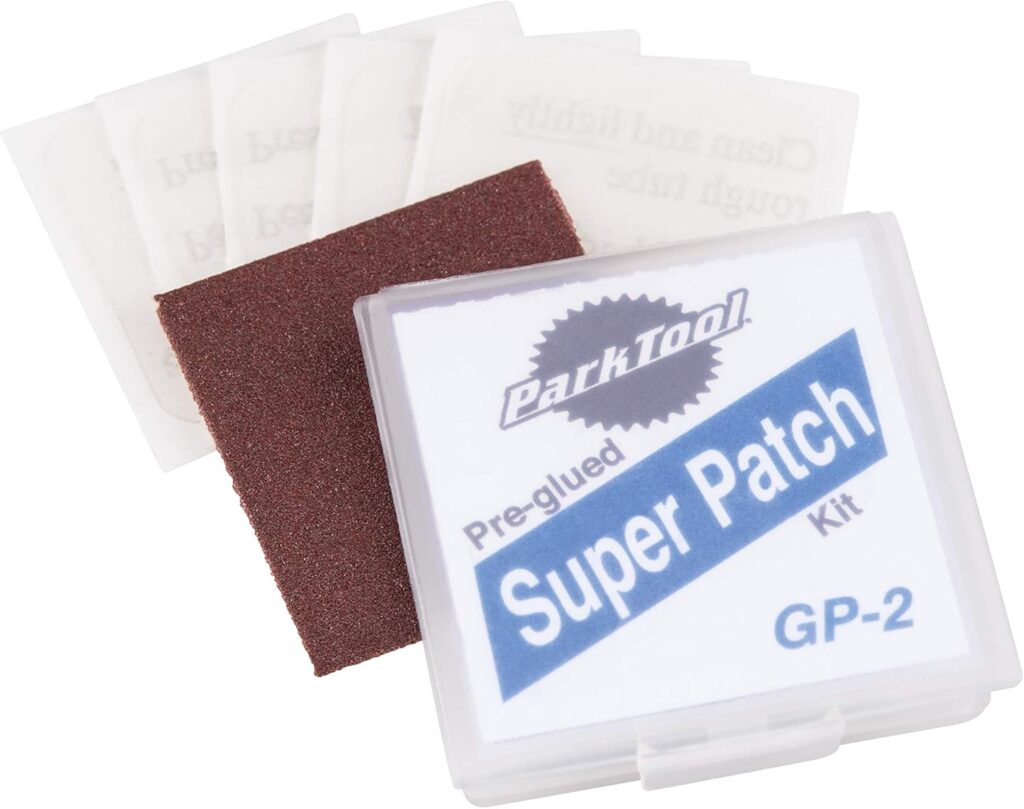
Puncture Repair Kit
- Recommended Product: Park Tool GP-2 Pre-Glued Super Patch Kit
- This kit comes with pre-glued patches, eliminating the need for messy adhesives.
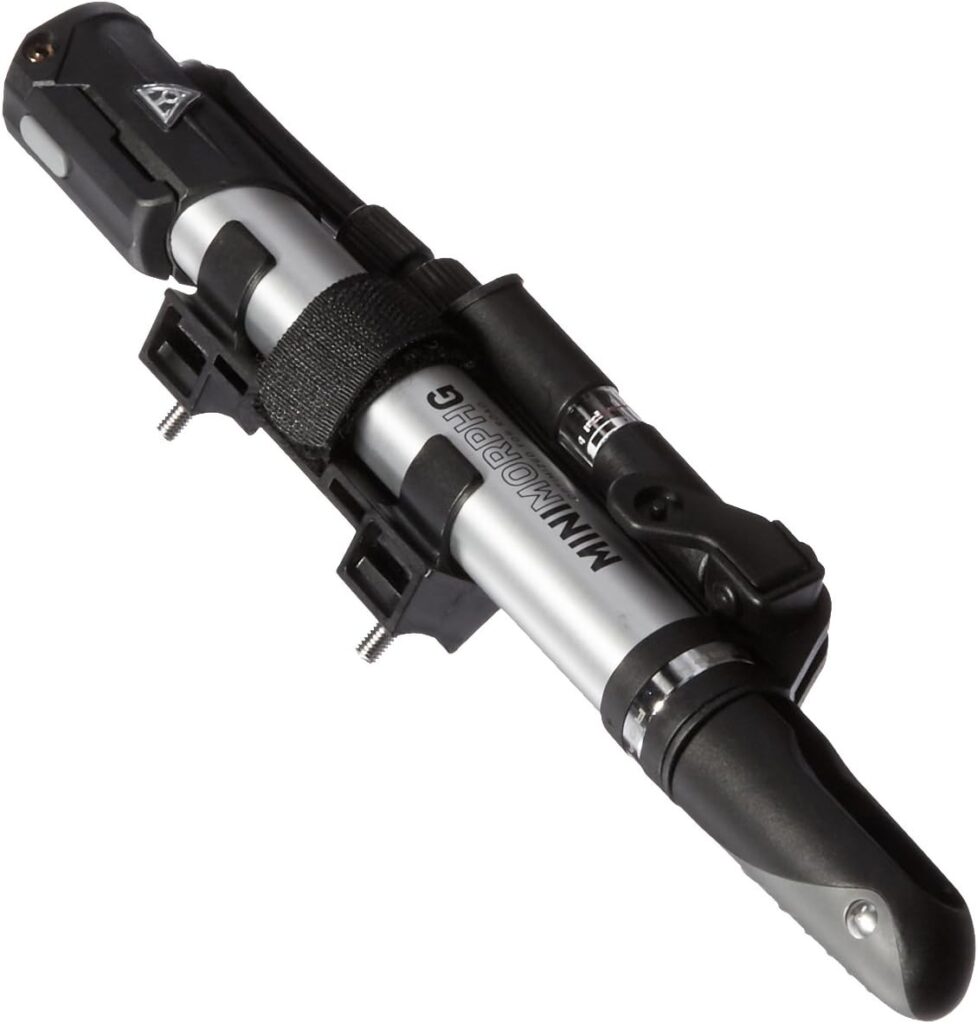
Portable Air Pump
- Recommended Product: Topeak Mini Morph Bike Pump
- Compact yet powerful, this pump can handle high-pressure inflation, perfect for e-bike tires.
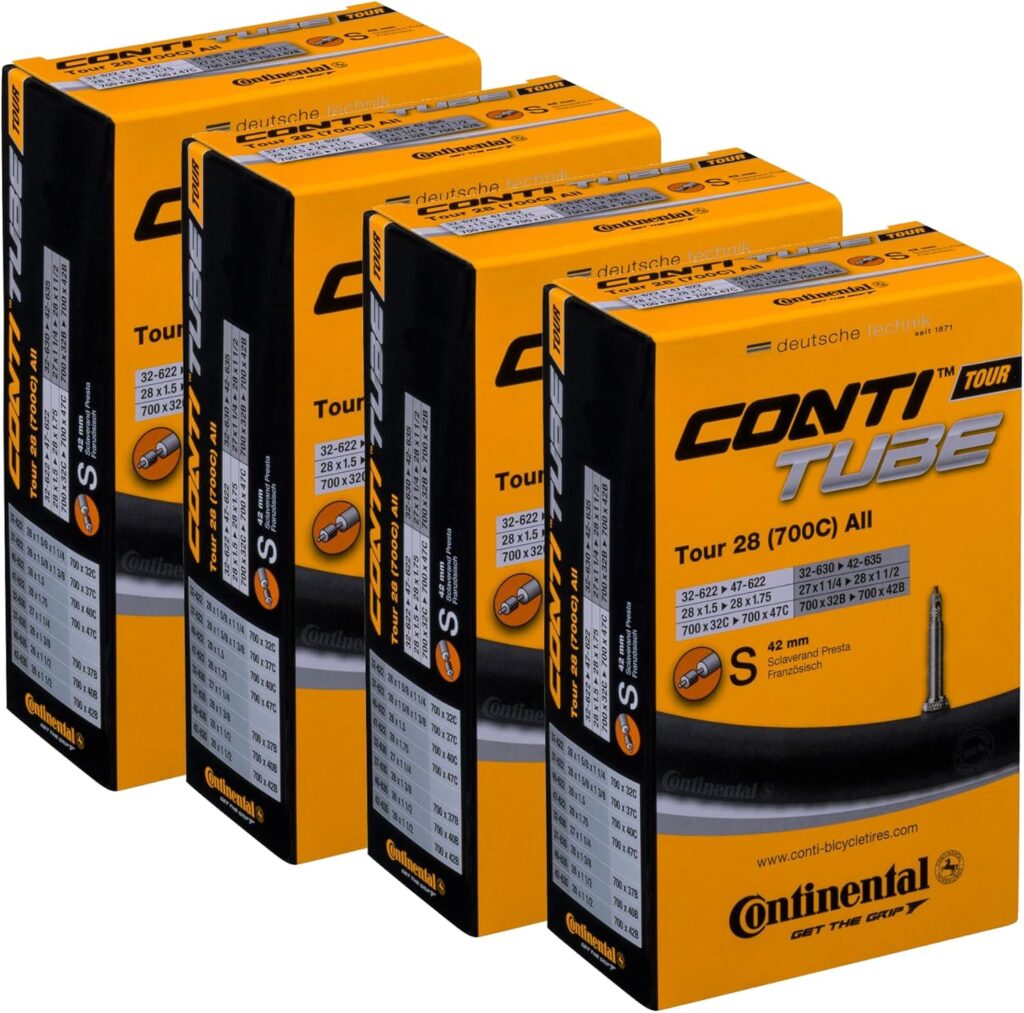
Spare Tube (Optional)
- Recommended Product: Continental Bike Tube
- Carrying a spare tube can save you time if the puncture is too large to patch.
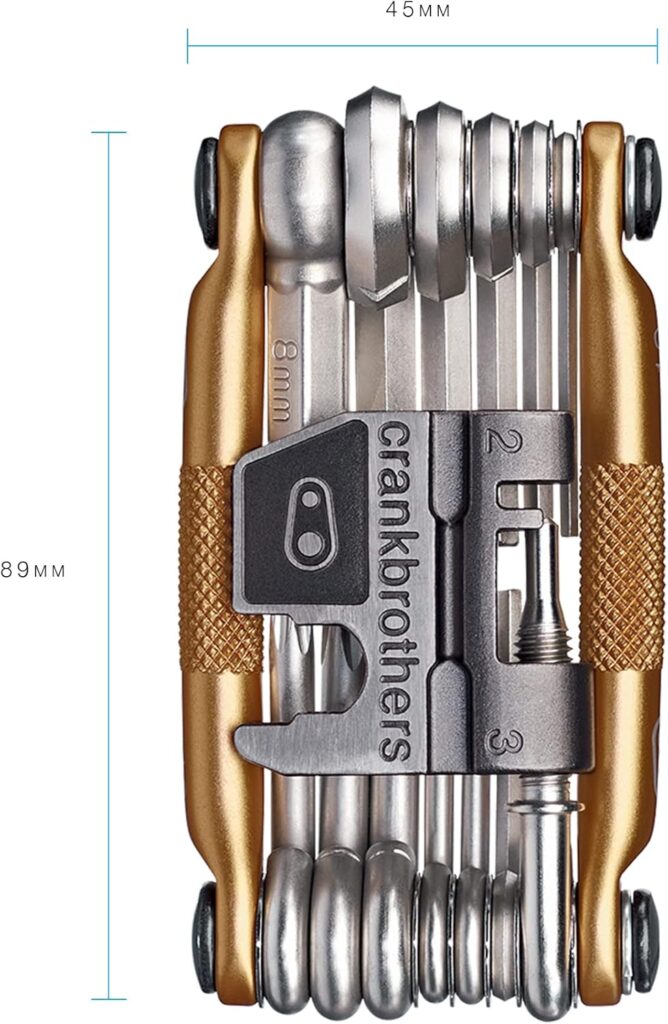
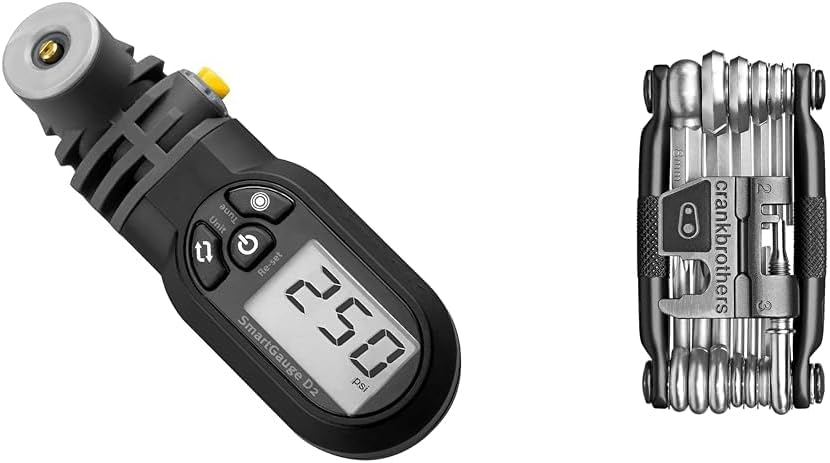
Multitool
- Recommended Product: Crankbrothers M19 Multi-Tool
- This tool includes everything from Allen wrenches to screwdrivers, ideal for removing and reinstalling wheels.
Step-by-Step Guide to Repairing a Puncture on Your E-Bike
Step 1: Prepare Your E-Bike
- Find a flat, stable surface to work on.
- Power off your e-bike and, if possible, remove the battery to avoid accidental activation of the motor.
- Mount your bike on the repair stand to elevate the affected wheel.
Step 2: Remove the Wheel
- Shift to the smallest gear on your e-bike to make wheel removal easier.
- Use the multitool to loosen the axle nuts or quick-release skewer.
- For rear-wheel punctures, carefully disconnect the motor cable if your e-bike has a hub motor.
Step 3: Deflate the Tire
- Fully deflate the tire by pressing down on the valve. This step prevents damage to the tire or tube during removal.
Step 4: Remove the Tire
- Insert a tire lever under the edge of the tire and pry it away from the rim.
- Use a second lever to work around the rim until one side of the tire is free.
Step 5: Locate the Puncture
- Remove the tube and inflate it slightly to identify the puncture. Submerge it in water and look for bubbles if the hole isn’t obvious.
- Mark the puncture spot with a pen or marker.
Step 6: Patch the Tube
- Roughen the area around the puncture with the included sandpaper from your repair kit.
- Apply the pre-glued patch firmly over the hole and allow it to set for a few minutes.
Pro Tip: If the damage is extensive, replace the tube entirely with your spare.
Step 7: Inspect the Tire
- Check the inside of the tire for sharp objects like glass or thorns. Remove any debris to prevent future flats.
Step 8: Reassemble the Tire
- Insert the patched or new tube back into the tire.
- Starting at the valve, push the tire bead onto the rim, using tire levers if necessary.
Step 9: Inflate the Tire
- Use the portable pump to inflate the tire to the recommended pressure (usually printed on the tire sidewall).
- Ensure the tire sits evenly on the rim as it inflates.
Step 10: Reinstall the Wheel
- Carefully align the wheel back into the frame. Reconnect any motor cables and tighten the axle nuts or quick-release skewer.
Step 11: Test Your E-Bike
- Spin the wheel to ensure it moves freely without wobbling. Reattach the battery and take a short test ride to confirm everything works as expected.
Fixing an E-Bike Rear Wheel Flat Tire
Proactive Tips to Avoid Punctures
- Use Tire Sealant: Products like Slime Tube Sealant provide an extra layer of protection by sealing small punctures as they occur.
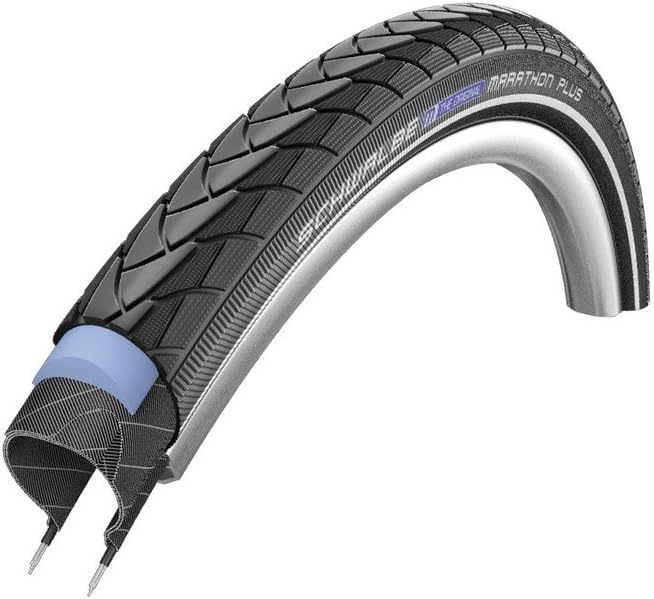
- Install Puncture-Resistant Tires: Consider upgrading to tires like the Schwalbe Marathon Plus for better durability.
- Maintain Proper Tire Pressure: Use a digital gauge like the Topeak SmartGauge D2 to ensure your tires are neither over- nor under-inflated.
Conclusion
Repairing a puncture on an e-bike may seem intimidating, but with the right tools and a bit of patience, it’s entirely manageable. Plus, knowing how to fix a flat gives you peace of mind during your rides.
If you’re missing any tools mentioned in this guide, click the product links to stock up on high-quality essentials from Amazon. With the right preparation, your next e-bike adventure will be worry-free!